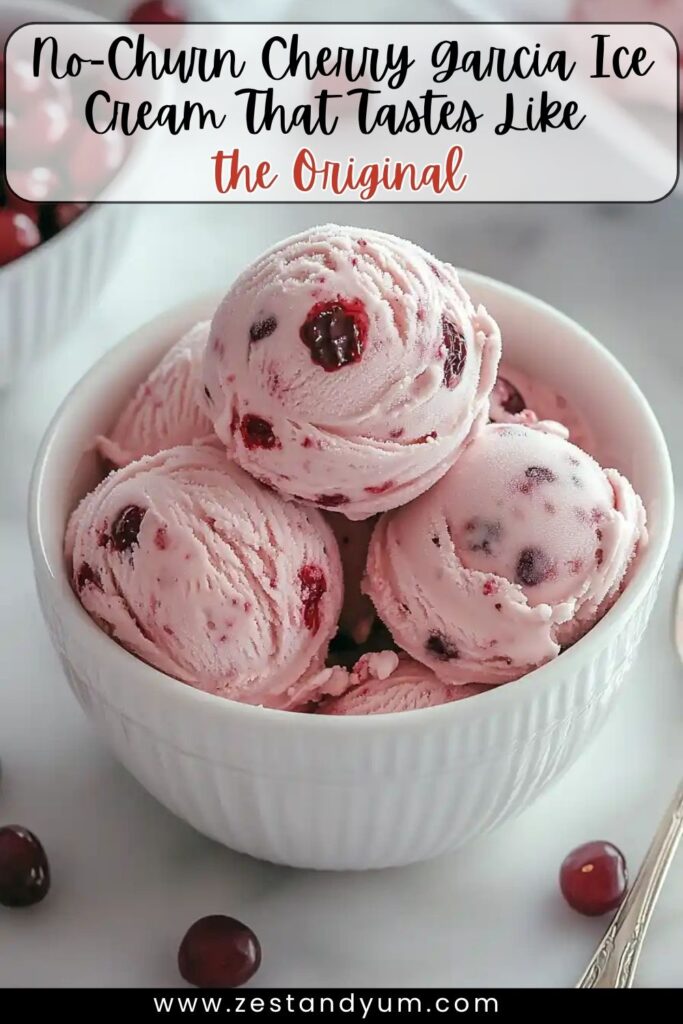
Why You’ll Love This Homemade Cherry Garcia Ice Cream Recipe
Cherry Garcia ice cream is a creamy, indulgent treat that captures the magic of sweet cherries and rich chocolate chunks in every bite. Inspired by the iconic Ben & Jerry’s flavor, this homemade version allows you to enjoy a fresh, customizable dessert right at home. Perfect for summer treats, dessert parties, or simply satisfying your ice cream cravings, this recipe offers unmatched satisfaction. Its versatility makes it easy to adapt to dietary preferences, whether you’re aiming for a classic version or a vegan-friendly twist. With its vibrant flavors and luxurious texture, this Cherry Garcia ice cream is sure to become a household favorite.
Key Ingredients for Perfect Cherry Garcia Ice Cream
To create the ultimate Cherry Garcia ice cream, gather these essential ingredients: 2 cups of heavy cream, 1 cup of whole milk, ¾ cup of granulated sugar, 4 large egg yolks, 1 teaspoon of vanilla extract, 1 cup of pitted and chopped cherries, and ½ cup of dark chocolate chunks. For added flair, consider optional enhancements like almond extract, cherry liqueur, or crushed nuts to elevate the flavor profile. Dietary substitutions such as coconut cream or plant-based milk cater to vegan diets, while swapping sugar with honey or maple syrup accommodates healthier preferences. Each component plays a vital role in crafting an ice cream that’s rich, fruity, and utterly irresistible.
Step-by-Step Guide to Making Cherry Garcia Ice Cream at Home
Making Cherry Garcia ice cream is simple with this clear guide. Begin by preparing an ice bath in a large bowl filled with ice water; set aside. Heat heavy cream and whole milk in a saucepan over medium heat until steaming but not boiling. In a mixing bowl, whisk egg yolks and sugar until pale and thickened. Gradually temper the egg mixture by whisking in a small amount of hot cream; return to the saucepan. Cook over low heat, stirring constantly, until the custard thickens enough to coat the back of a spoon. Strain into a clean bowl, stir in vanilla extract, and chill completely over the ice bath. Churn in an ice cream maker according to instructions, folding in cherries and chocolate chunks during the last few minutes. Freeze in an airtight container for at least 4 hours before serving.
How to Make the Best Cherry Swirl for Your Ice Cream
A luscious cherry swirl elevates your Cherry Garcia ice cream to new heights. Simmer chopped cherries with sugar and a splash of lemon juice in a saucepan until softened and syrupy. Remove from heat and let the mixture cool completely before swirling it into the ice cream base. For added depth, incorporate a hint of almond extract or cherry liqueur. This technique ensures the cherries retain their vibrant flavor while adding a burst of sweetness and texture to each bite. The result is a dessert that’s both visually stunning and irresistibly delicious.
Pro Tips for Achieving Creamy and Rich Ice Cream Texture
Mastering Cherry Garcia ice cream requires attention to detail. Use high-fat heavy cream instead of light cream for a richer, creamier texture. Ensure the custard is thoroughly chilled before churning to prevent ice crystals from forming. Fold mix-ins like cherries and chocolate chunks gently to maintain a smooth consistency. Store the finished ice cream in an airtight container, pressing parchment paper directly on the surface to prevent freezer burn. These pro tips guarantee an ice cream that’s consistently velvety, flavorful, and perfect for any occasion.
Creative Variations to Customize Your Cherry Garcia Ice Cream
Customizing your Cherry Garcia ice cream opens up endless possibilities for flavor exploration. For a vegan option, use coconut cream and plant-based chocolate chunks to create a dairy-free version that’s just as indulgent. A low-sugar alternative can be achieved by swapping granulated sugar with erythritol or monk fruit, catering to health-conscious dessert lovers. Add a nutty twist by incorporating chopped almonds or pecans for extra crunch and texture. Experiment with different chocolates, such as white chocolate shavings or dark chocolate curls, to create gourmet flavor combinations. These creative variations ensure your ice cream remains versatile and exciting, no matter your dietary needs or taste preferences.

What to Serve with Cherry Garcia Ice Cream for a Complete Dessert Experience
Serving Cherry Garcia ice cream alongside complementary treats enhances its appeal. Pair it with warm brownies, freshly baked cookies, or slices of pie for a decadent dessert experience. Beverages like coffee, hot chocolate, or sparkling water complement the rich flavors of the ice cream, balancing its sweetness with refreshing or bold notes. Thoughtfully chosen pairings elevate your dessert spread, ensuring a memorable experience for guests or a comforting treat for yourself.
How to Store and Keep Your Homemade Ice Cream Fresh
To keep your Cherry Garcia ice cream tasting fresh, store it in an airtight container in the freezer for up to 1–2 weeks. Prevent freezer burn by pressing parchment paper directly onto the surface of the ice cream before sealing the container. If the ice cream becomes too firm, let it sit at room temperature for 5–10 minutes before scooping to achieve the perfect texture. These storage tips ensure your homemade ice cream remains creamy and delicious, ready to enjoy whenever the craving strikes.
See Also:
- Air Fryer Fried Ice Cream
- Blueberry Sour Cream Coffee Cake
- Boston Cream Donuts ( Chocolate glazed Donuts )
Frequently Asked Questions About Cherry Garcia Ice Cream
Q: Do I need an ice cream maker?
A: While recommended, you can use a no-churn method with whipped cream and condensed milk.
Q: Can I use frozen cherries instead of fresh?
A: Yes, thaw and drain excess liquid before using.
Q: Is this recipe gluten-free?
A: It can be made gluten-free by ensuring all ingredients are certified gluten-free.
Q: How do I make the ice cream firmer?
A: Freeze for an additional hour or two after churning for a firmer texture.
Q: Can I prepare this recipe ahead of time?
A: Yes, store in the freezer for up to 2 weeks before serving.
Why This Recipe is a Must-Try for Ice Cream Lovers
This Cherry Garcia ice cream stands out for its creamy texture, sweet cherry swirls, and rich chocolate chunks. Its versatility invites creativity, encouraging you to experiment with variations and presentations. Whether served at gatherings, paired with warm desserts, or enjoyed straight from the freezer, this ice cream brings joy and indulgence to any occasion. With simple steps and adaptable ingredients, this recipe promises satisfaction every time. Try it today it might just become your new favorite way to enjoy homemade ice cream.
Print
Cherry Garcia Ice Cream
- Total Time: 45 minutes
- Yield: 1.5 quarts 1x
Description
This creamy, indulgent homemade Cherry Garcia ice cream captures the perfect blend of sweet cherries and rich chocolate chunks. Inspired by the beloved Ben & Jerry’s classic, this custard-based ice cream is packed with flavor, easy to customize for dietary preferences, and perfect for summer days or anytime cravings. With a luxurious texture and vibrant taste, it’s sure to become your new favorite frozen treat.
Ingredients
- 2 cups heavy cream
- 1 cup whole milk
- ¾ cup granulated sugar
- 4 large egg yolks
- 1 teaspoon vanilla extract
- 1 cup pitted and chopped cherries
- ½ cup dark chocolate chunks
Optional Enhancements:
- ¼ teaspoon almond extract
- 1 tablespoon cherry liqueur
- Crushed nuts (almonds or pecans)
- Alternative sweeteners (honey, maple syrup, or erythritol)
- Dairy-free substitutes (coconut cream, plant-based milk, vegan chocolate)
Instructions
- Prepare an ice bath in a large bowl and set aside.
- In a saucepan, heat heavy cream and whole milk over medium heat until steaming but not boiling.
- In a separate bowl, whisk egg yolks and sugar until pale and thick.
- Gradually whisk some of the hot cream into the egg mixture to temper it.
- Return the egg mixture to the saucepan and cook over low heat, stirring constantly, until the custard coats the back of a spoon.
- Strain the custard into a clean bowl, stir in vanilla extract, and chill over the prepared ice bath until fully cooled.
- Churn in an ice cream maker according to manufacturer instructions.
- During the last few minutes of churning, fold in chopped cherries and chocolate chunks.
- Transfer to an airtight container and freeze for at least 4 hours before serving.
Notes
- Chill the custard fully before churning to avoid ice crystals.
- For a cherry swirl, simmer chopped cherries with sugar and lemon juice until syrupy, cool, then swirl into churned ice cream.
- Press parchment paper directly onto the surface of the ice cream to prevent freezer burn.
- Let ice cream sit at room temperature for 5–10 minutes before scooping for best texture.
- No ice cream maker? Use a no-churn method with whipped cream and condensed milk.
- Prep Time: 30 minutes
- Cook Time: 15 minutes
- Category: Dessert
- Method: Churned
- Cuisine: American
Nutrition
- Serving Size: ½ cup
- Calories: 240
- Sugar: 19g
- Sodium: 35mg
- Fat: 17g
- Saturated Fat: 10g
- Unsaturated Fat: 6g
- Trans Fat: 0g
- Carbohydrates: 21g
- Fiber: 1g
- Protein: 3g
- Cholesterol: 105mg