Learn how to bake delicious homemade bread without a traditional oven. This guide will show you the world of no-oven stovetop bread making. It’s great if you have limited kitchen space, want to save energy, or love the smell of fresh bread.
We’ll cover the benefits, what you need, and how to do it. You’ll learn to make amazing stovetop bread.
Key Takeaways
- Bake bread on your stovetop without an oven
- Enjoy the benefits of energy-saving and space-efficient bread making
- Learn the essential equipment and ingredients for successful stovetop bread
- Understand the techniques for achieving the perfect dough consistency and texture
- Discover the cast iron skillet method for delicious, oven-free bread
Why Making Bread on Your Stovetop Makes Perfect Sense
As a passionate home baker, I’ve found stovetop bread making to be a joy. It’s great for both new and experienced bakers. It saves energy, fits well in small spaces, and brings satisfaction from making stovetop bread recipe and skillet bread.
Benefits of Stovetop Bread Making
Stovetop bread making is very flexible. Unlike oven-baked bread, you can make off-grid bread right on your stovetop. This is perfect for hot summer days when you don’t want to heat up the kitchen. It’s also great for small apartments or off-grid living where oven space is limited.
Energy-Saving Advantages
Stovetop bread making is also energy-efficient. It uses less energy than baking in an oven. This reduces your carbon footprint and lowers your energy bills. It’s good for the planet and your wallet.
Perfect for Small Living Spaces
Stovetop bread making is a lifesaver for those with small kitchens. You don’t need a big oven to make fresh bread. Just use a cast-iron skillet or a sturdy saucepan. It’s ideal for apartment dwellers, tiny homes, and off-grid living where big ovens aren’t possible.
Essential Equipment for Stovetop Bread Success
Mastering stovetop bread making requires the right tools. You don’t need a traditional oven, but some key items are vital. These tools help achieve the perfect cast iron bread or dutch oven bread texture and taste.
The cast iron skillet is central to stovetop bread baking. It’s perfect because it can handle high heat and spreads it evenly. This creates the ideal environment for campfire bread. Plus, its natural nonstick surface makes dough easy to release without tearing.
- Invest in a well-seasoned, heavy-duty cast iron skillet for the best results.
- Choose a skillet with a tight-fitting lid to help trap heat and steam, essential for achieving a perfect crust.
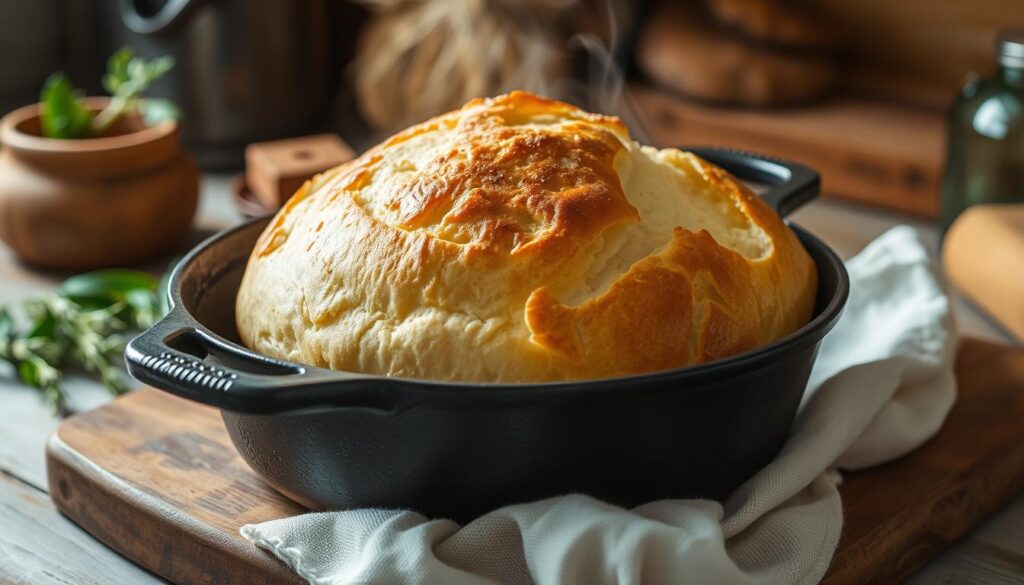
The dutch oven is another valuable tool for stovetop bread baking. It’s great for mimicking a traditional oven, trapping heat and steam to create a bakery-worthy crust. The enclosed environment also helps the bread rise and bake evenly.
| Equipment | Why It’s Essential |
|---|---|
| Cast Iron Skillet | Distributes heat evenly, creates a crisp crust |
| Dutch Oven | Traps heat and steam, replicates oven-baked results |
With the right equipment, you can make delicious, artisanal-quality cast iron bread, dutch oven bread, and even campfire bread on your stovetop. These versatile tools open up a world of flavorful, no-oven bread baking possibilities.
No-Oven Stovetop Bread: Basic Ingredients and Preparations
Making delicious stovetop bread at home is easy and saves energy. To get great results, knowing the right ingredients and how to prepare them is key. Let’s dive into the basics of making a tasty stovetop bread that will wow your loved ones.
Choosing the Right Flour Types
The base of any good stovetop bread is the flour. All-purpose flour works well, but trying different types can enhance your bread. Adding whole wheat or rye flour can make it healthier and tastier. The right flour is crucial for your stovetop bread.
Understanding Yeast Activation
Yeast is what makes your stovetop bread dough come to life. It’s important to activate the yeast right to get a light, airy bread. Start by letting the yeast proof in a warm, moist spot. This step is essential for a great stovetop bread that’s as good as oven-baked.
Proper Dough Consistency
Getting the dough just right is vital for stovetop bread success. It should be smooth and easy to work with, not too sticky or dry. Adjust the flour and water to get the perfect dough for shaping and cooking on the stovetop.
| Flour Type | Benefits |
|---|---|
| All-Purpose Flour | Reliable and versatile for everyday stovetop bread |
| Whole Wheat Flour | Adds heartier texture and boosts nutritional value |
| Rye Flour | Imparts a robust, earthy flavor to stovetop bread |
Mastering the Cast Iron Skillet Bread Method
I love baking bread in a cast iron skillet on the stovetop. It lets me make perfectly crusty loaves without a traditional oven. The cast iron’s even heat and great heat retention make it perfect for baking bread.
To begin, my cast iron skillet is seasoned and heated on medium-low. I gently put the bread dough in the skillet, making sure it doesn’t deflate or get misshapen. The dough rises and gets a golden crust as it bakes. I watch it closely, adjusting the heat to bake it evenly.
This method gives me control over the baking. I can see how the bread is doing and tweak the heat or time as needed. Whether it’s a simple sourdough or a richer dough, the skillet always gives me a crisp crust and soft inside.
FAQ
What is stovetop bread and how does it differ from traditional oven-baked bread?
Stovetop bread is made without an oven. It’s baked on the stovetop or over a campfire. This method is great for small spaces, off-grid living, or when you don’t want to heat up your kitchen.
What are the benefits of making bread on the stovetop?
Stovetop bread saves energy and is versatile. It’s perfect for small spaces. It’s also eco-friendly and cost-effective, ideal for those without a full oven.
What equipment do I need to make stovetop bread?
You’ll need a heavy-duty, heat-resistant pan like a cast iron skillet. Dutch ovens and other oven-safe pots work too. A lid helps trap heat and steam for baking.
What type of flour should I use for stovetop bread?
Use all-purpose or bread flour for stovetop bread. Whole wheat or specialty flours need recipe adjustments. Choose a flour that can handle stovetop baking.
How do I activate the yeast for stovetop bread?
Activate yeast in warm water or milk. Let it become bubbly and frothy before adding it to the dough. This ensures the yeast is active for baking.
What’s the key to achieving the perfect stovetop bread crust?
For a crisp crust, manage heat and create steam. Preheat your skillet or Dutch oven over medium-low heat. Place the dough in it, then cover to trap steam. This helps the bread get a beautiful crust.
Print
No-Oven Stovetop Bread
- Total Time: 1 hour 30 minutes (includes rising time)
- Yield: 1 medium loaf 1x
- Diet: Vegan
Description
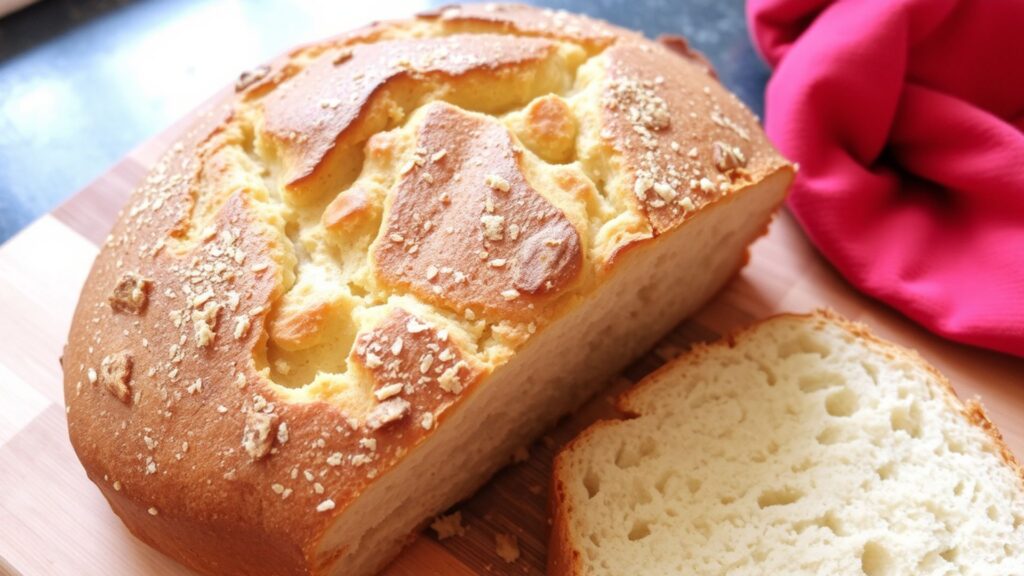
Learn to bake delicious bread on your stovetop without a traditional oven. This energy-efficient and space-saving recipe is perfect for small kitchens, off-grid living, or those seeking a no-oven solution. Enjoy the satisfaction of fresh bread with a crisp crust and soft interior using a cast iron skillet or Dutch oven.
Ingredients
- 3 cups all-purpose flour (or a mix with whole wheat/rye flour)
- 1 teaspoon salt
- 1 tablespoon sugar
- 2 teaspoons instant yeast (or active dry yeast)
- 1 1/4 cups warm water (adjust as needed)
- 2 tablespoons olive oil (optional for softer dough)
Instructions
- Activate Yeast (if using active dry yeast): Mix yeast with warm water and sugar. Let it sit for 5–10 minutes until frothy.
- Make the Dough: In a bowl, combine flour and salt. Gradually add the yeast mixture and olive oil (if using). Mix until a dough forms.
- Knead: Knead the dough on a floured surface for 8–10 minutes until smooth and elastic.
- First Rise: Place the dough in an oiled bowl, cover with a damp towel, and let it rise for 1–1.5 hours until doubled in size.
- Shape: Punch down the dough, shape it into a round or oval loaf, and let it rest for 15 minutes.
- Preheat Skillet: Heat a cast iron skillet over medium-low heat for 5 minutes. Lightly grease it if needed.
- Cook Bread: Place the dough in the skillet. Cover with a tight-fitting lid and cook for 15–20 minutes on the first side. Flip and cook for an additional 10–15 minutes until the crust is golden brown and the bread sounds hollow when tapped.
- Cool and Serve: Let the bread cool on a wire rack for 15–20 minutes before slicing.
Notes
- For a crisper crust, lightly mist the dough with water before covering the skillet.
- Use a Dutch oven for a more enclosed environment that mimics traditional oven baking.
- Adjust heat to prevent burning; medium-low works best for even cooking.
- Prep Time: 20 minutes
- Cook Time: 30–40 minutes
- Category: Bread
- Method: Stovetop
- Cuisine: Global
Nutrition
- Serving Size: 1 slice (out of ~10 slices)
- Calories: ~120 kcal
- Sugar: ~1g
- Sodium: ~200mg
- Fat: ~2g
- Saturated Fat: ~0.3g
- Unsaturated Fat: ~1.7g
- Trans Fat: 0g
- Carbohydrates: ~22g
- Fiber: ~1g
- Protein: ~3g
- Cholesterol: 0mg


